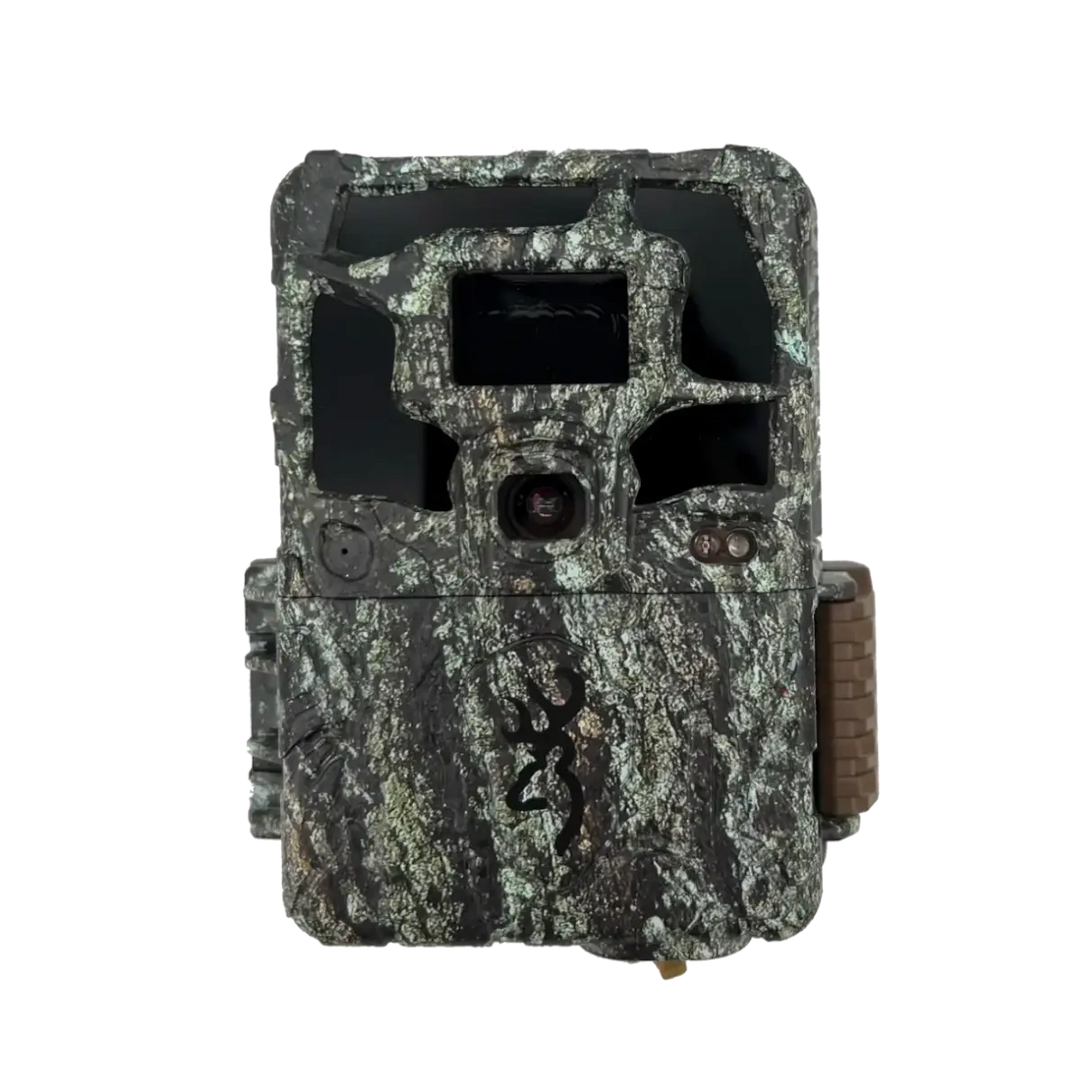
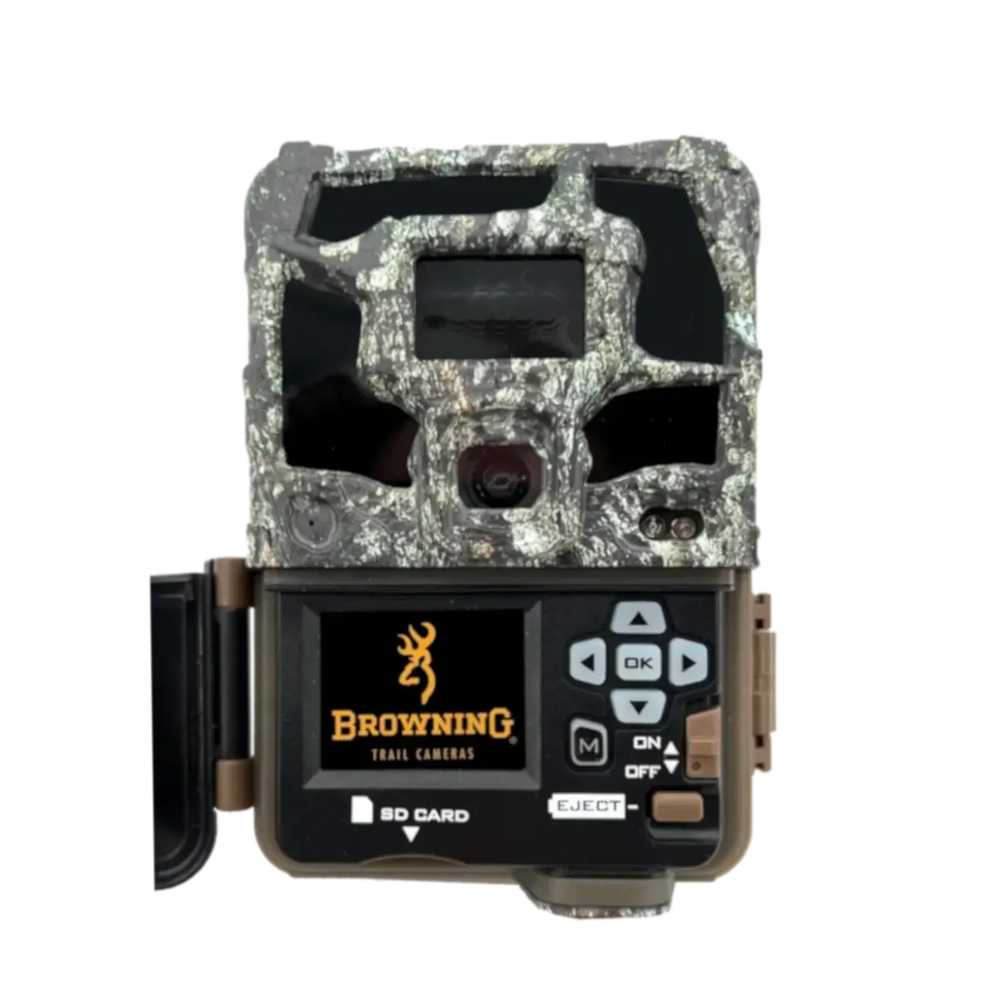
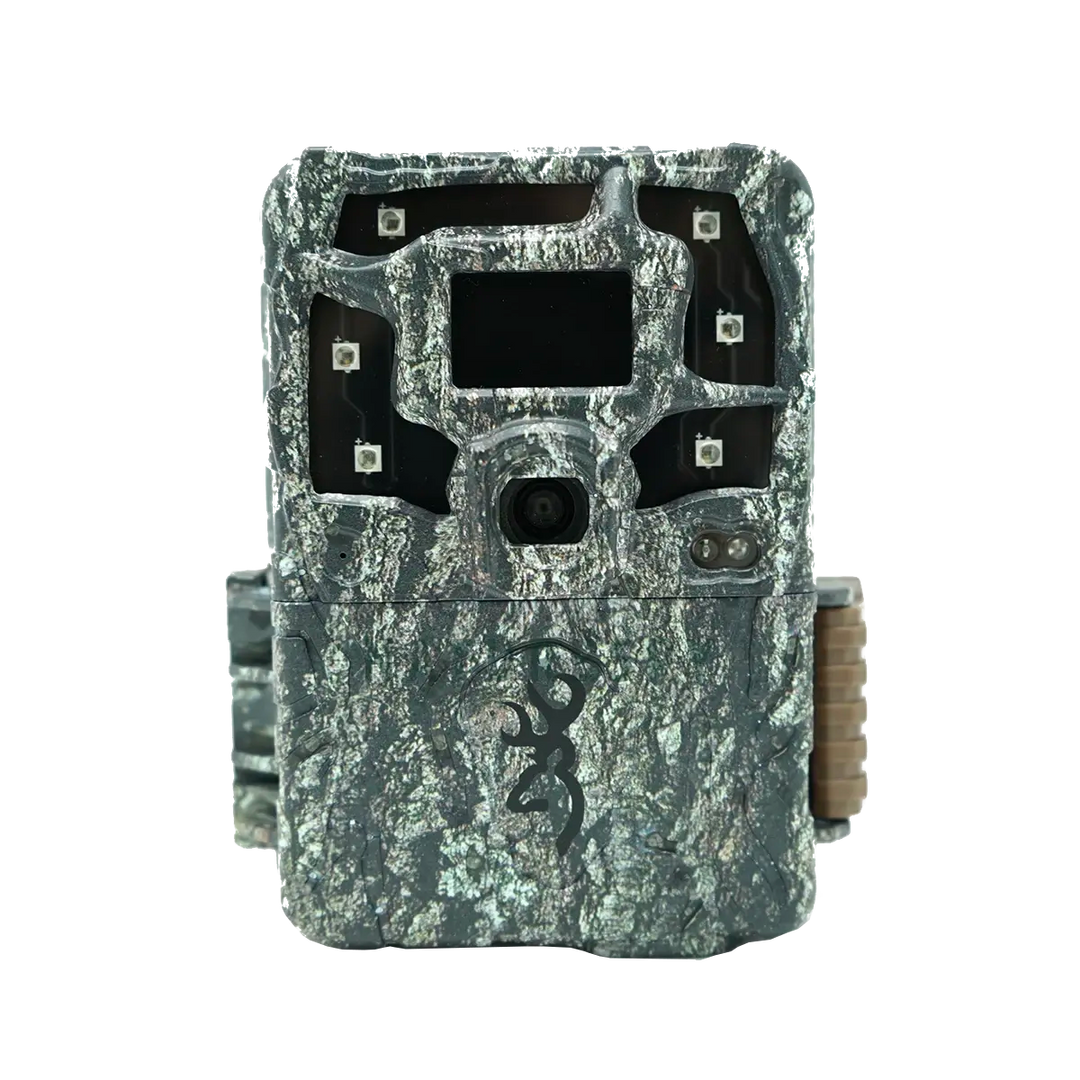
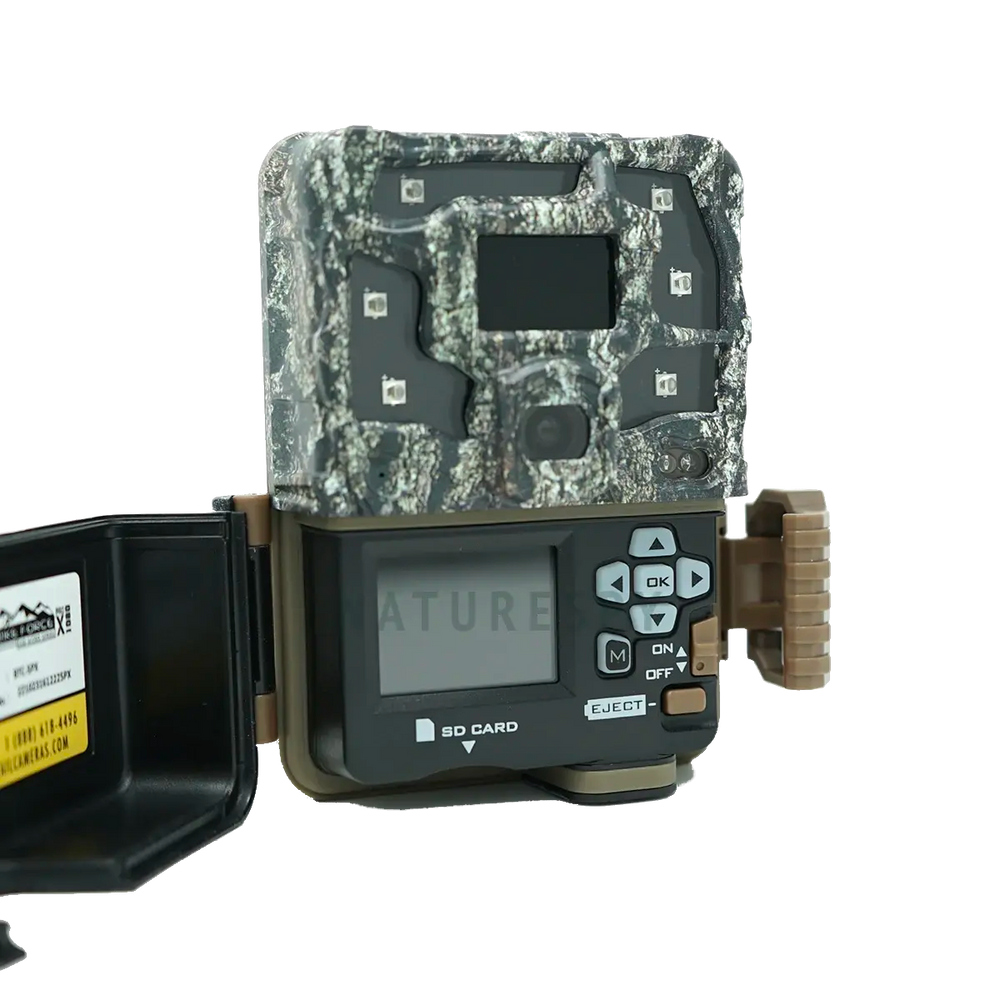
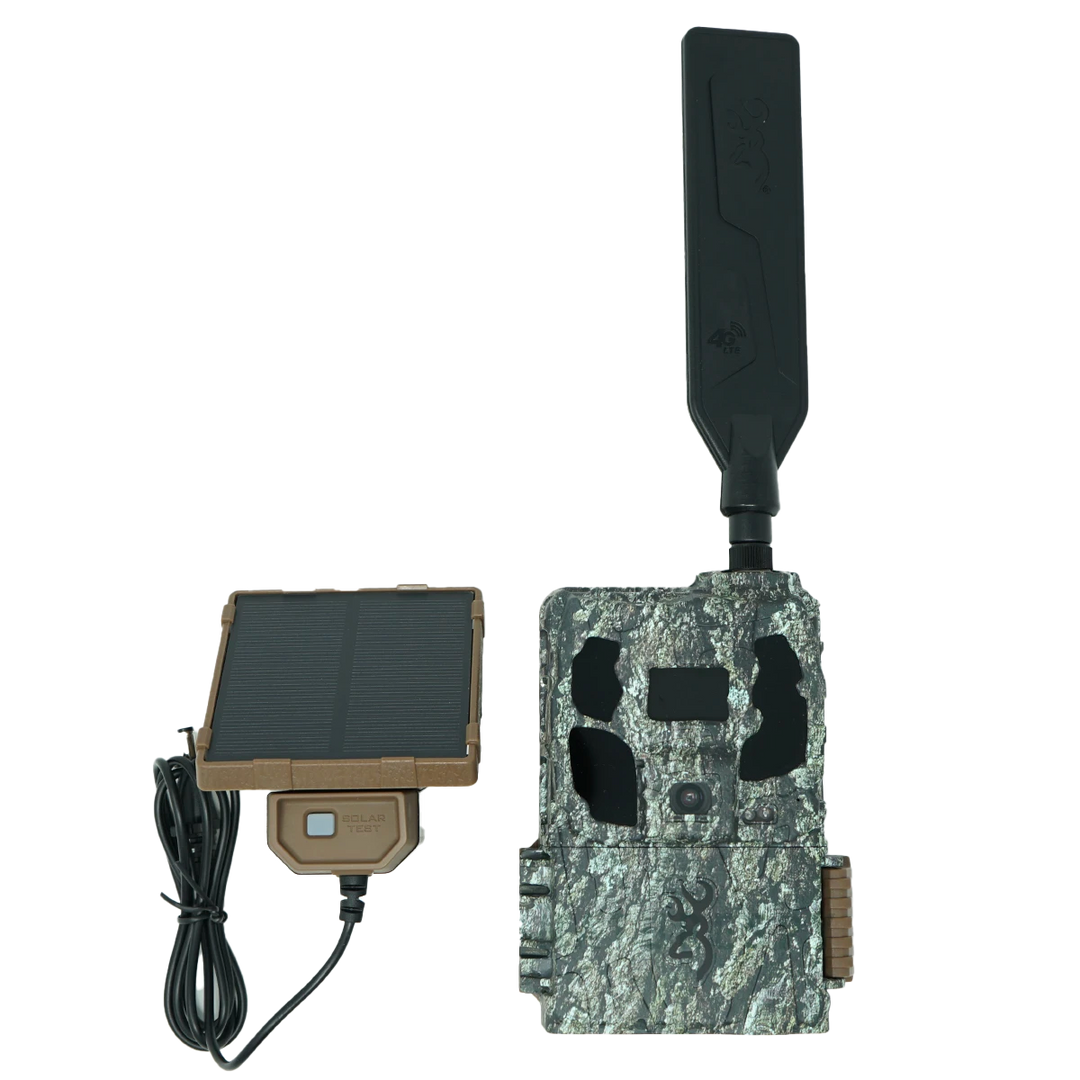
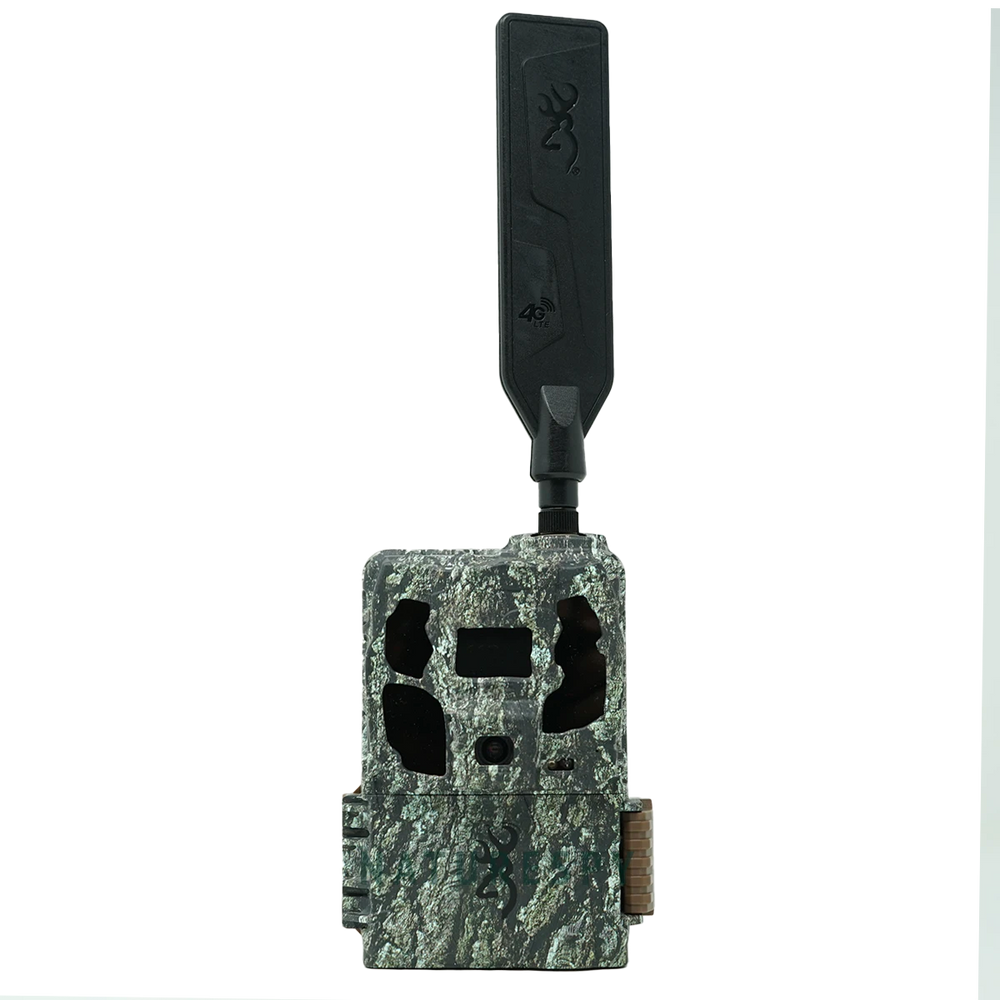
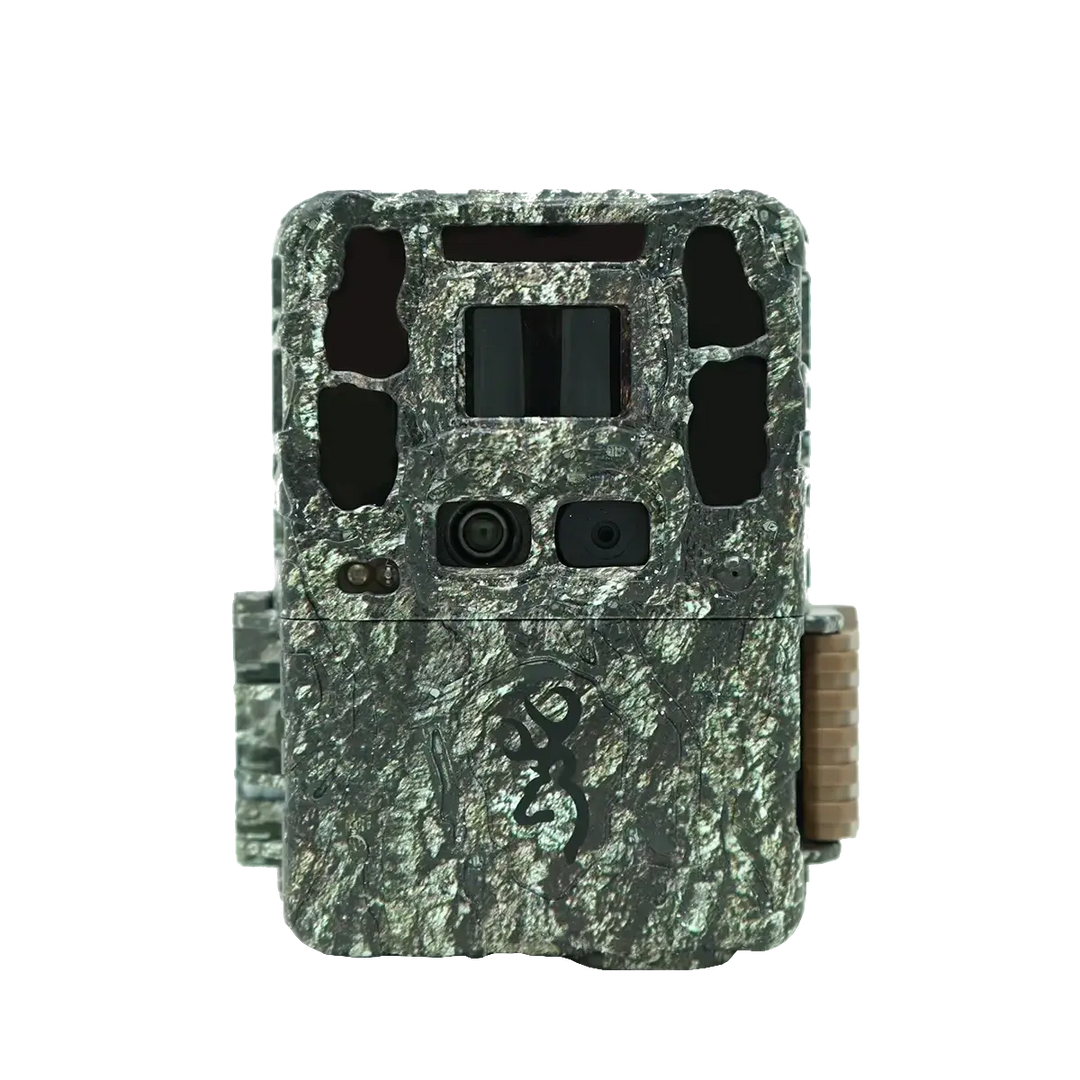
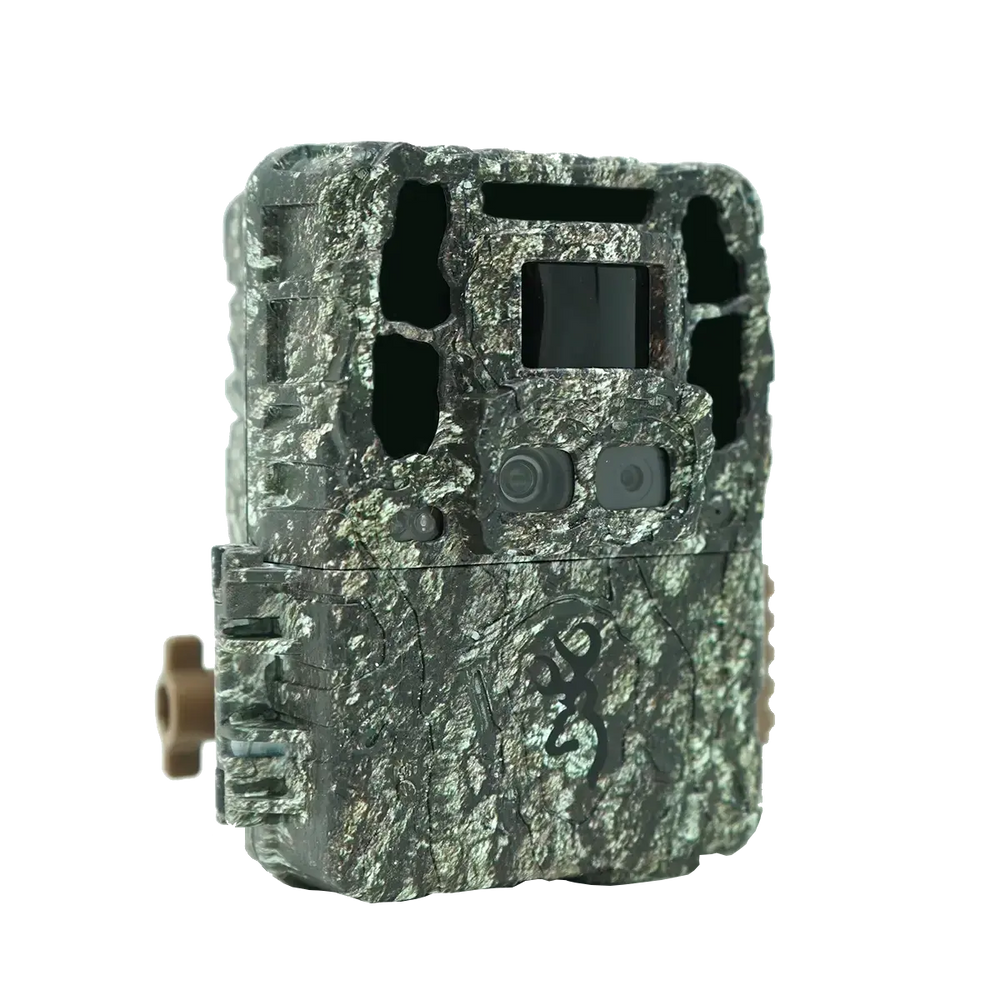
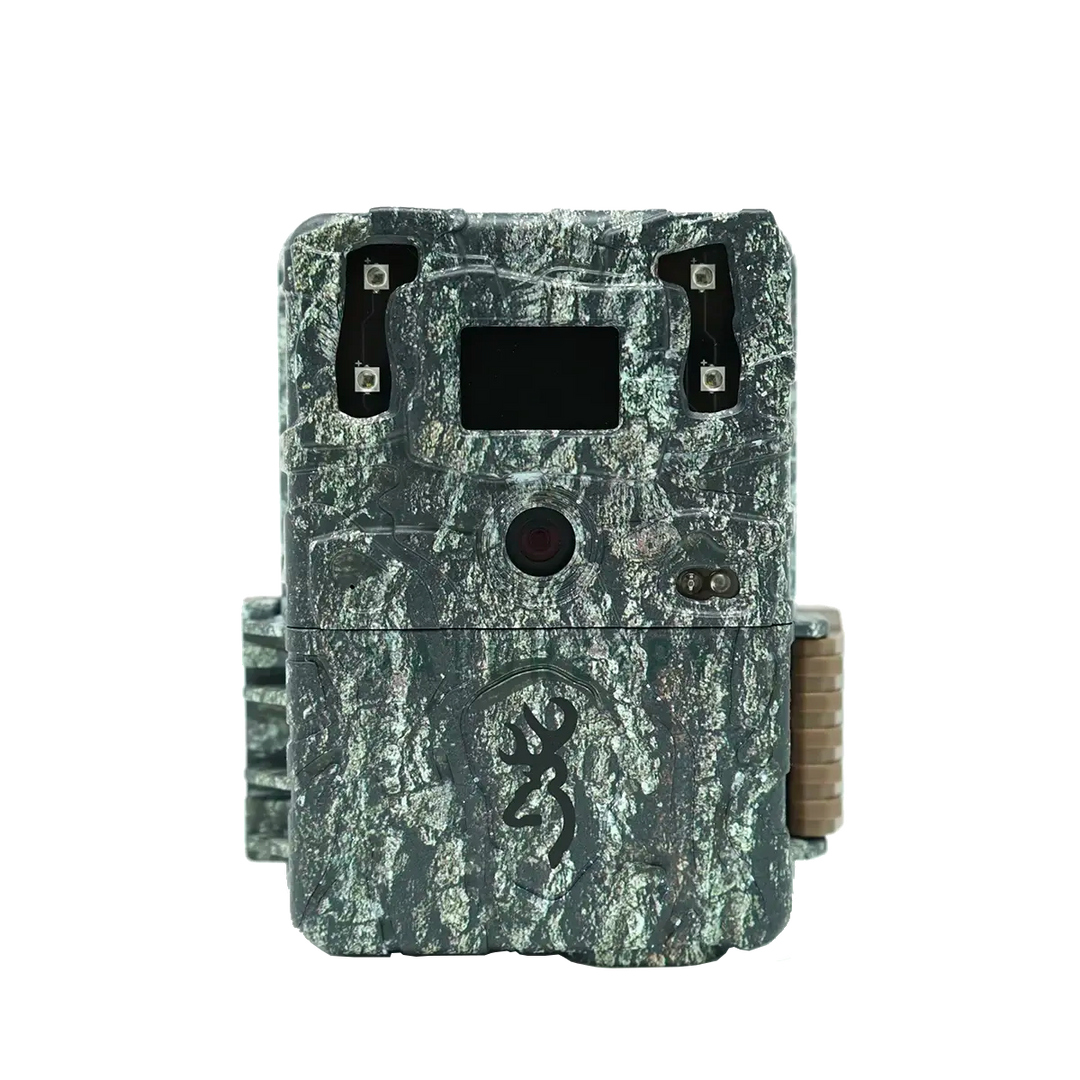
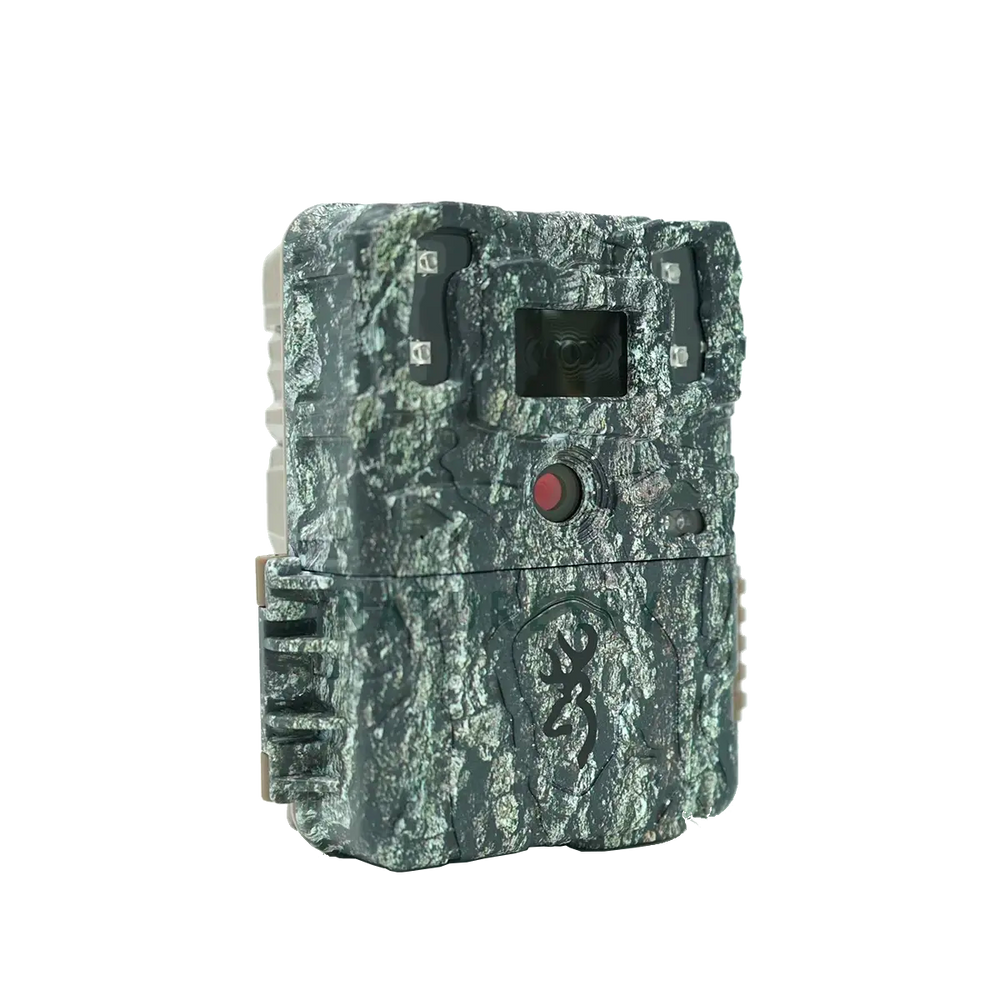
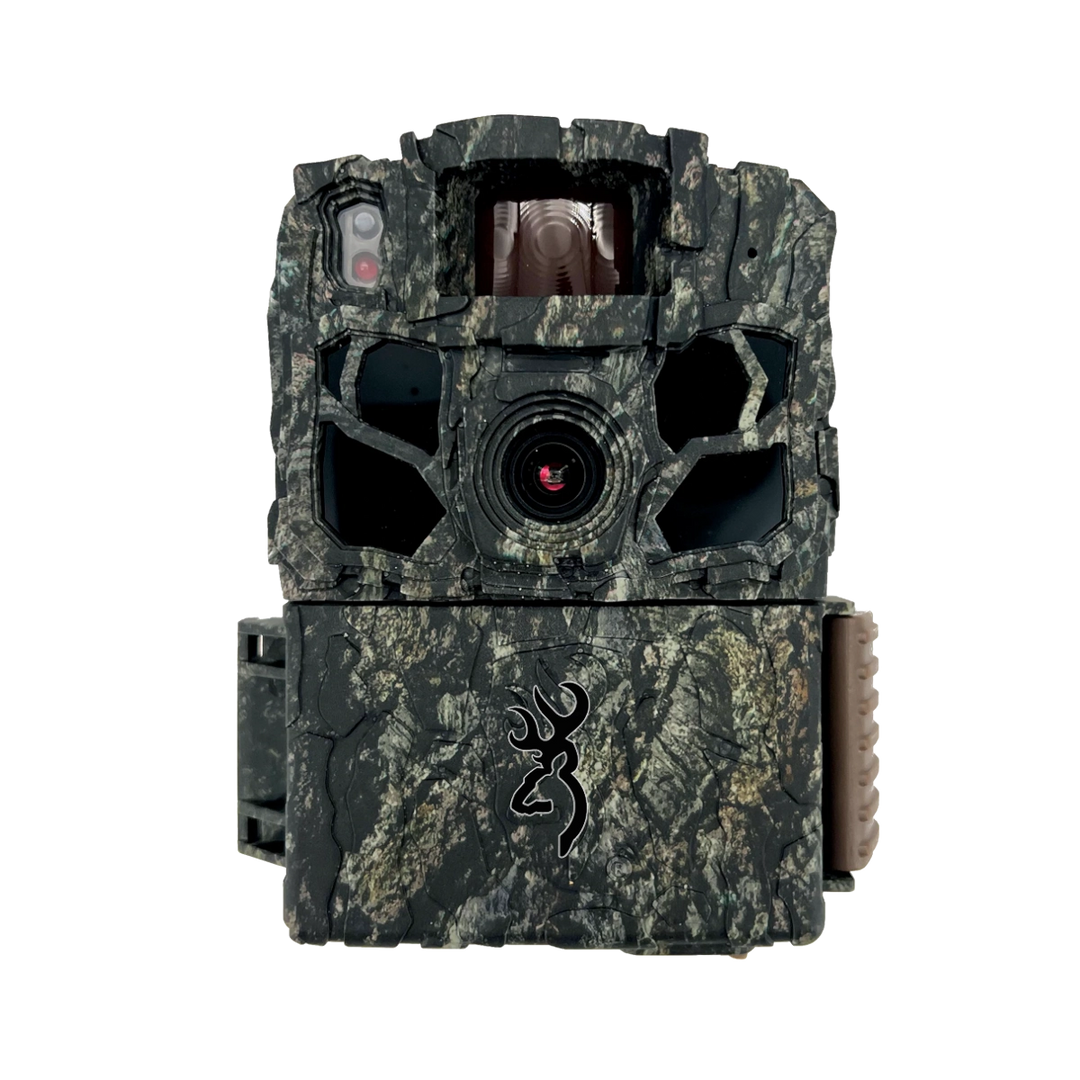
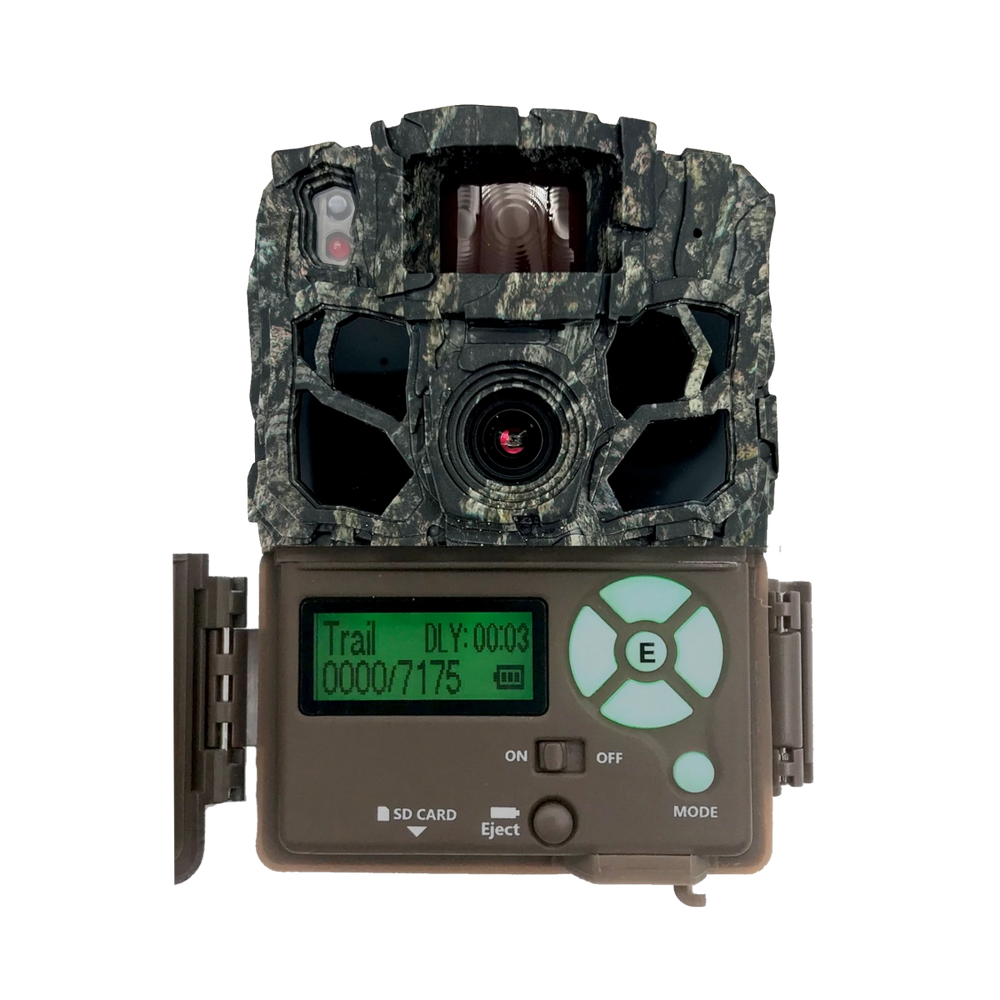
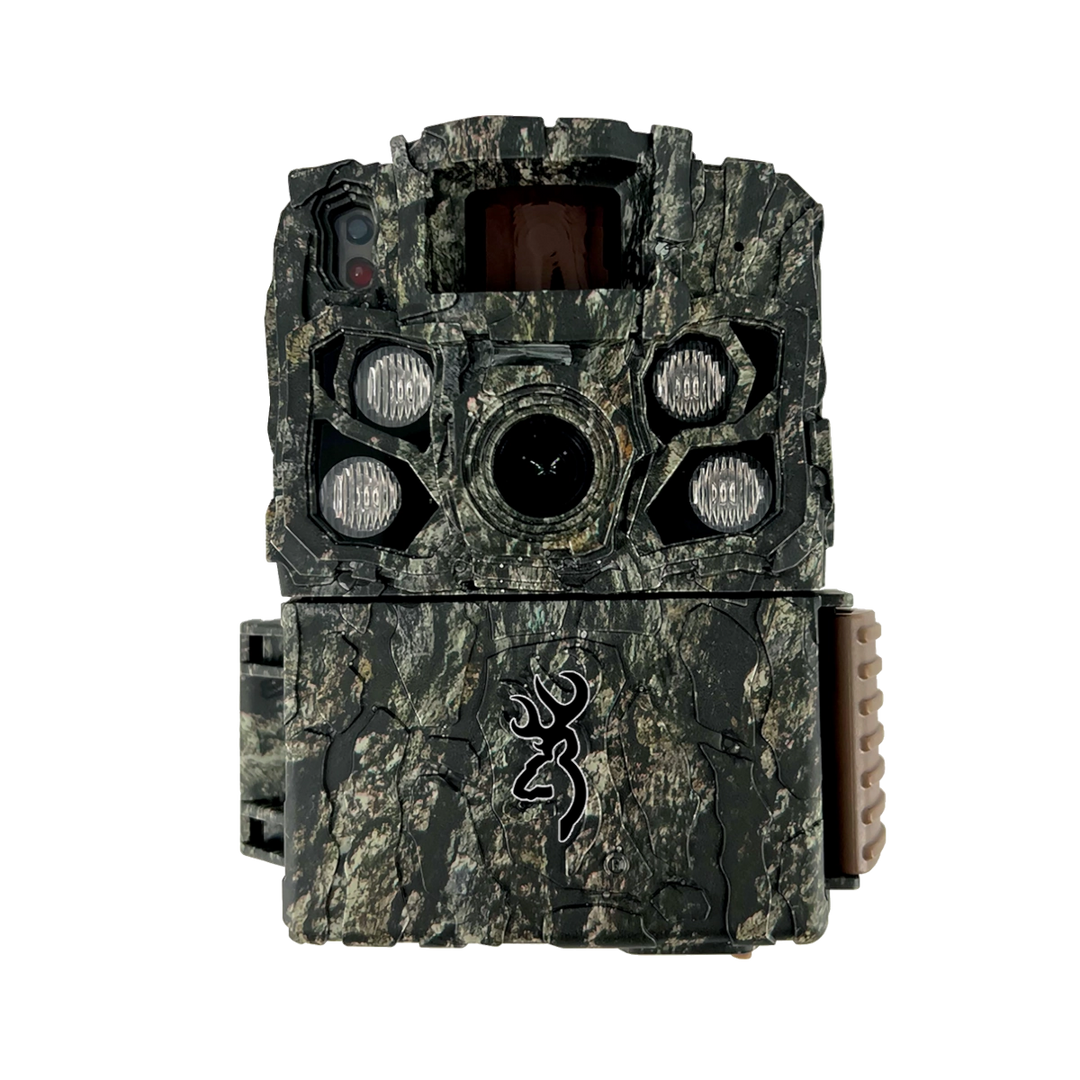
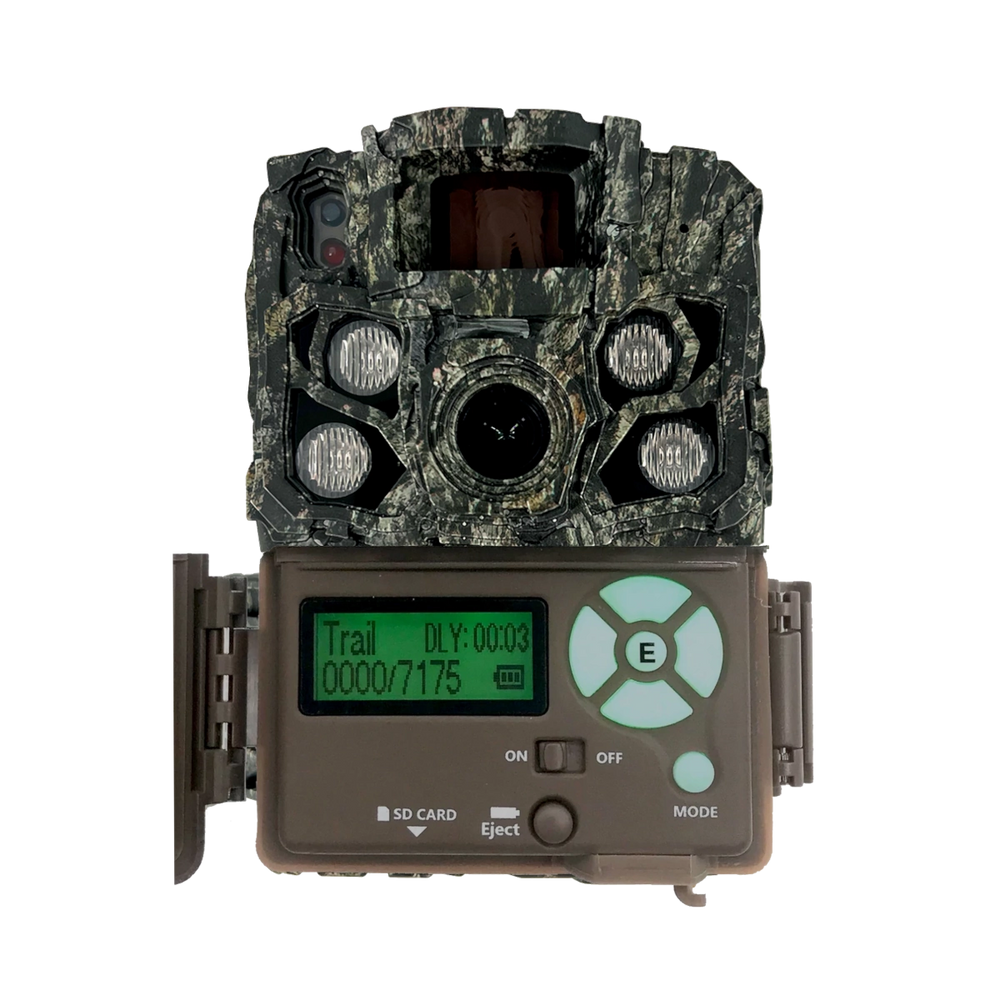
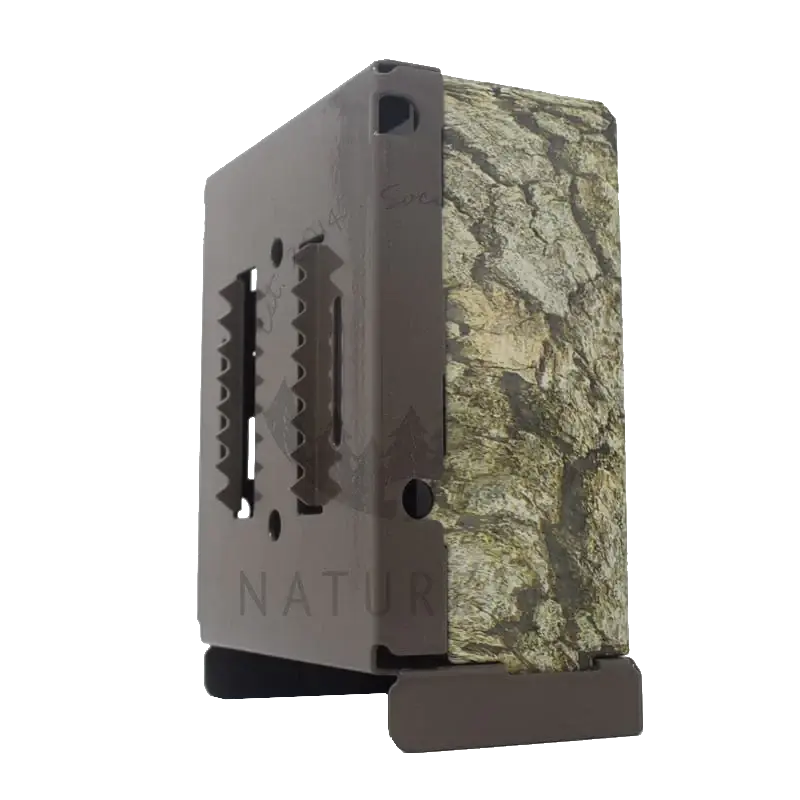
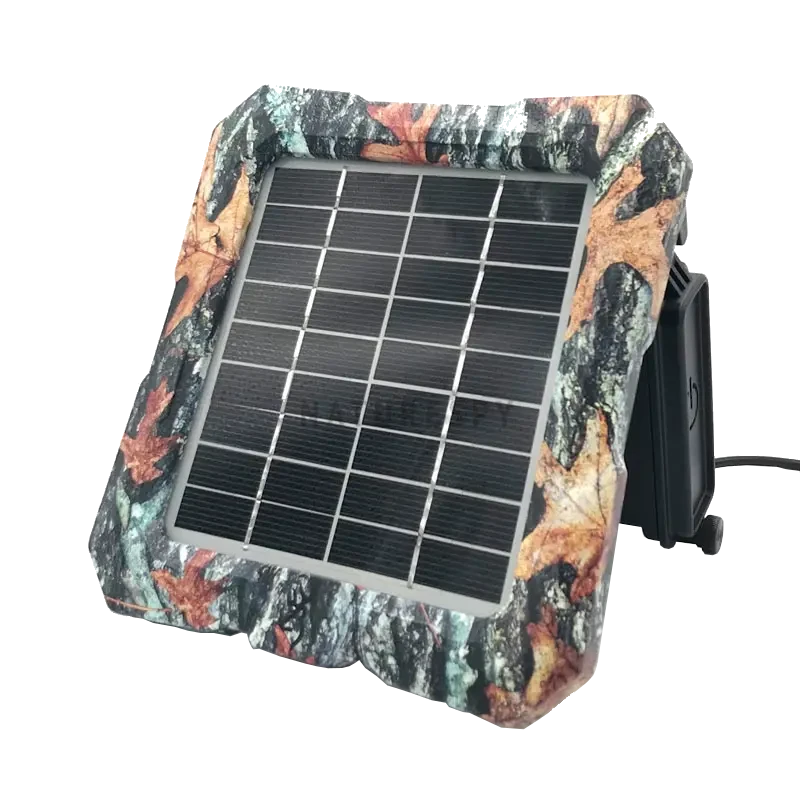
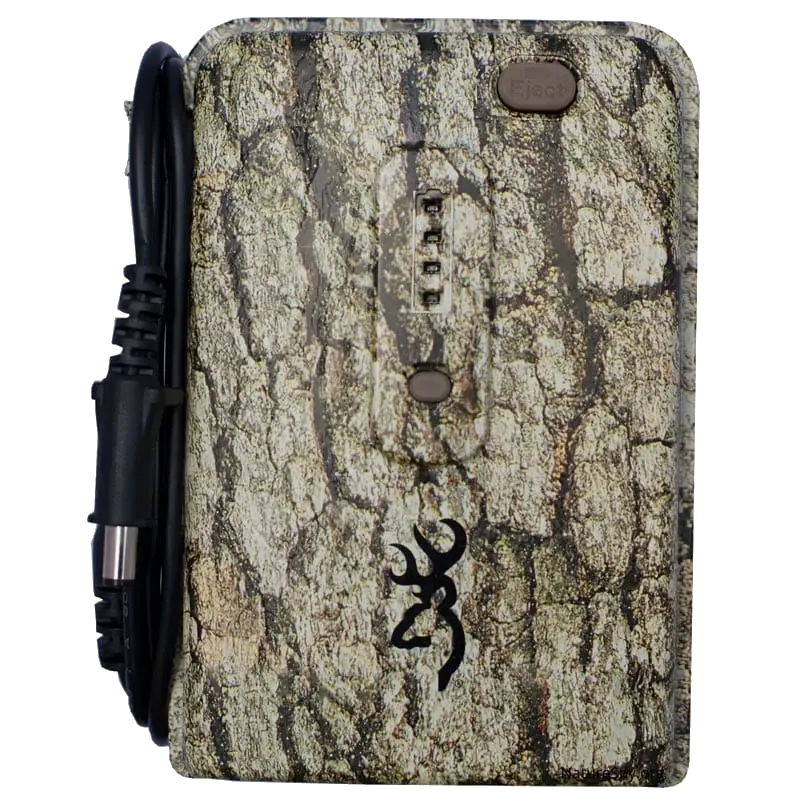
The HP5 is for anyone that’s after a wildlife camera trap that produces excellent quality videos. It excels with video, produces good quality photos, and has plenty of settings options to fine tune setups, making it a versatile camera trap. It has wide appeal across the board: from those watching wildlife in their garden through to scientific research projects.
Browning Recon Force and Spec Ops cameras have been our most popular cameras with NatureSpy projects and partners for several years, as they are versatile, reliable and durable cameras that produce great quality images.
Browning Recon Force Elite HP5
The main difference between the two models is the type of LEDs. The Recon Force uses low-glow LEDs, which provide better image clarity but emit a dim red glow. In many situations this is not a problem, but if you’re trying to keep the camera well hidden or monitoring a species that responds to the glow of infrared LEDs, then the Spec Ops is a better choice, as it has no-glow LEDs (learn more about camera trap LEDs here). Images produced by the Spec Ops aren’t quite as sharp as the Recon Force but they still look excellent, as you’ll see in the sample video below.
Sample footage from the Browning Spec Ops Elite HP5
Sample footage from the Browning Recon Force Elite HP5
If you’re coming from an older model like the very popular Browning Recon Force Advantage or Spec Ops Advantage, an upgrade to the HP5 is noticeable in lots of ways. The image quality is better, the audio is clearer, the trigger is faster and the field of view is wider. There’s new settings including capture timers and HDR options, and the HP5 works great on a set of rechargeable batteries (specifically Panasonic Eneloop Pro). Recon Force and Spec Ops camera traps have always been relatively compact, and the HP5 is noticeably smaller compared to previous Browning cameras in this series, weighing 446g loaded with batteries, which is 20% lighter than the Recon Force Advantage.
There are some significant and minor upgrades in the HP5 compared to last year’s Browning Recon Force Elite HP4 and Spec Ops Elite HP4. Below we list the ones that stand out most from our use in the field.
Browning HP5 camera traps are better camouflaged in more scenarios, keeping the camera discrete.
If you’ve used a Browning Recon Force or Spec Ops camera before then this will feel familiar. Browning trail cameras are as user friendly as they come, with clear menus that have a logical flow. The HP5 has a 2” built-in screen that has great viewing angles – so it’s easy to setup in even the fiddliest of scenarios! One repeat issue we’ve seen with the HP5 is a sticky battery tray, which often needs a good yank to release it the first few times the batteries are replaced.
Video mode
Photo mode
Timelapse mode
Settings for video, photo and timelapse modes
The HP5 doesn’t have a hybrid mode to record photo and video from the same trigger. We’d love to see this as a feature of Browning cameras in the future. We often have requests for cameras with hybrid mode from researchers, as a photo is great for species identification and then video provides all the extra information about behaviours.
Night-time video is limited to 20 seconds per trigger on the HP5, which is fine in most scenarios, but the added flexibility of longer individual night-time clips would be useful. It’s also impossible to see the time and date on the preview screen when checking back over images in the field. This would be useful to see when checking cameras on the go. There are third party firmware modifications that address these two points, but beware that the use of such firmware may void your camera warranty.
Video! The HP5 really stands out from the pack with high quality video, day and night. There are higher resolution cameras on the market, but we think that Browning have got this just right with the combination of resolution, field of view, overall image clarity night and day, and a fast, reliable trigger. One feature that has helped Browning Recon Force cameras stand out over the past few years is the ability to record video at 60fps, when many other brands and models are running at 30fps. The benefit of 60fps is especially apparent when recording faster-moving species like deer and birds zipping past the camera. The HP5 uses the latest iCatch processor to produce high quality images.
Versatility is another area where the HP5 stands out. The variety of options for fine tuning image settings coupled with handy features like a capture timer make this a great all-round camera trap.
Battery efficiency is great. With the 12v system running off 8x lithium AA batteries, expect several months of use on video mode and well over a year on photo mode. Camera performance is best with lithium AA’s, but it performs well with Panasonic Eneloop Pro rechargeable batteries too.
Browning Recon Force and Spec Ops cameras have always recorded temperature in the data bar at the time of the image, but temperature readings have often been unreliable and the HP5 is no different. Take temperature readings with a pinch of salt!
The HP5 performs best on a set of lithium AA batteries (Energizer Ultimate Lithium AA are our go to at NatureSpy for great trail camera performance). However, due to the way that the power drops off with lithium batteries, the battery level meter on the camera can be misleading – it looks like it’s going strong, then the battery level plummets. This has been the case for previous Recon Force models too. For accurate battery readings, use a multimeter. Batteries
The HP5’s photos don’t shine quite like the videos do but they are good quality, and given the speed of the camera’s trigger, you’re unlikely to find scenarios where you’re struggling with species identification due to blurry images. As is the case with many camera traps, the photos are interpolated, which means that lower photo resolution settings result in higher quality images as the pixels aren’t being stretched out so much through interpolation.
Below: Sample photographs from the Browning Recon Force and Spec Ops Elite HP5 camera traps
There are a few settings on the HP5 that require a little more explanation to understand how they work and get the most out of the camera.
Motion detection: Labelled as ‘Long Range’ and ‘Normal Range’ on the camera, these settings are best thought of as trigger sensitivity. ‘Long’ is high sensitivity, and unless you’re only monitoring large mammals or you’re having problems with false triggers in some habitats, we’d recommend sticking with this option.
Video quality: There are two options on the camera: ‘High’ and ‘Ultra’. Both options are 1920 x 1080 full HD, but the difference is that Ultra is 60fps compared to High which is 30fps, so you can expect to see smoother movement in videos on Ultra mode. We’ve found that both options look great and recommend going with Ultra unless you’re using a lot of cameras (e.g. >10) over long periods (more than a few months). In which case, the video quality difference is not discernible enough most of the time to warrant the extra hard drive space.
IR flash power: There are 3 IR flash power options.
We tend to opt for Long Range flash as an all-round good option providing great illumination, but Blur Reduction is useful if you need to boost the night-time illumination a little bit more, just be aware that it will eat batteries a bit quicker.
HDR: High dynamic range is a new option to the HP5 which can be simply set on or off. With this mode engaged, night-time images appear to have a slight boost in contrast. We recommend trying this option both ways to see which you prefer.
Optimum range: The HP5 will capture images as far away as 100ft and as close as around 3ft before starting to lose focus. From our experience, we think this camera works best all-round in the 8-20ft range, as this is a sweet spot for detailed, in-focus images for a broad range of medium to large mammals. Small mammal and bird monitoring requires setups around the 5-8ft range.
Centre the field of view for the most reliable triggers: Use the preview screen to line up the camera on the centre of where you anticipate activity in the field of view. This has always been a hotspot for Browning Recon Force and Spec Ops camera detection zones.
Consider where animals are likely to move into the field of view: The left and right sides of the field of view are also main detection zones for the camera’s trigger, so use this to your advantage. To help with framing images well and further improve the reliability of triggers, consider how animals are likely to move into the field of view (e.g. from the left or right along a trail). If you’re aiming a camera off the ground at something like a feeder, make sure it’s well centred or it may not trigger so reliably/quickly.
Use the teeth on the backplate to get your angles right: Angling a camera trap forward slightly by wedging a stick behind it can help with centring the field of view. The teeth on the metal back plate of the HP5 make this really easy, as they grip onto sticks and help with getting the camera snuggly in place, so there won’t be concerns about it moving once you’ve left it.
We’ve been impressed with the Browning Recon Force Elite HP5 and Spec Ops Elite HP5 camera traps for fieldwork this year. They are well-built, versatile camera traps that produce excellent quality videos and good quality photos with plenty of options for fine tuning settings.
Get in touch! Our team are always happy to help!